Hi.
I'd like to share a short doc I wrote in the past about how to create a certificate database using nss tool and create an SSL connection between a policy server and a userstore.
First of all it is important to say that this procedure is valid for older Siteminder version, where the procedure created the certdb in version 7, and newer SSO (formely Siteminder) where procedure creates the certdb in version 8.
In order to have a connection in SSL to an UserDirectory, it is necessary to configure a database where inserting certificats. This is possible using the nss Netscape tool. It create cert7.db/cert8.db (a Netscape version file format) for create, maintain and import the certificates.
Note that in Siteminder this tool is yet present inside the bin of the installation folder.
1. Download Software
Mozilla Network Security Services (NSS) utility, version 3.2.2 nss-3.2.2.zip.
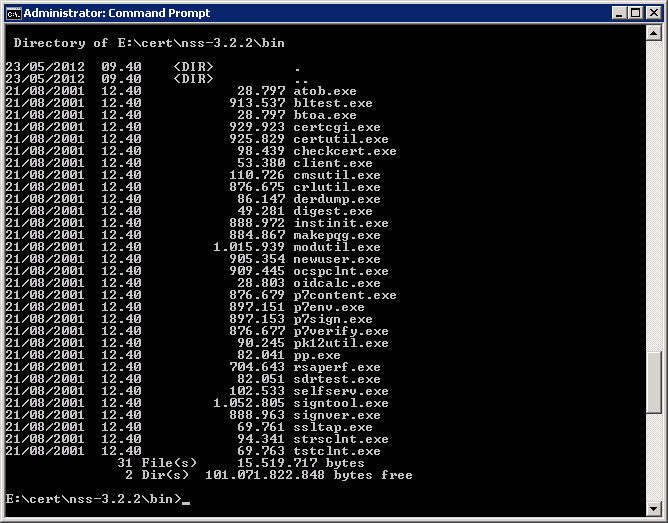
2.Extract and verify deployment
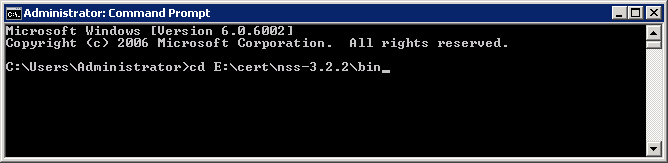
Extract the file .zip in any folder (in the tutorial I’m using the E:\cert\nss-3.2.2 folder).

Open a command prompt and go to the folder in which nss was unzipped
3. Create a nss certificate database
In order to create a database, execute the command certutil -N -d E:\cert\certdatabase
where:
- certutil is the tool (in the bin path of the nss) to create the db
- -N the command to create the certificate db files
- -d path, where it’s possible to select where to deploy the database

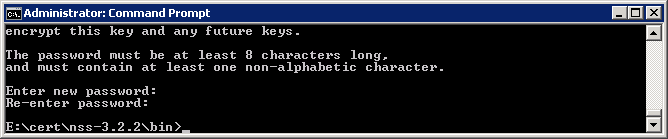
After that, the creation of the database requires to insert a password to encrypt the keys

Reinsert again the password
4. Add the Root Certificate
Even if there are a lot of options you can use with nss, for ssl connection purpose what you need now is just:
- Add the root certificate
- Add the server certificate
- where:
- certutil -A -n "Cert_TEST1 Root CA" -t “C,C,C” –i "E:\cert\Base-64 encoded X.509 Cert_TEST Root CA..cer" -d E:\cert\database
- To add the root certificate, from the bin, execute:
-
- -A is the option to add a certificate in the database
- -n, is just the alias (what you want) that is correlates to the certificate
- -t, option that enables the trust attribute
- -i, that must point to the folder in which the CA ROOT is inserted
- -d, that is the folder where database was created

5. Add a server Certificate
Similar to the root procedure, also for Server certificate you have to import it in the database
certutil -A -n "Server_test_certificate" -t “P,P,P” –i "E:\cert\Base-64 encoded X.509 Server_test_certificate.cer" -d E:\cert\database
Verify of the right imported certificatesA lot of time it could be happen that for some reason the certificate weren’t imported.
To verify the imported certificate, using the command prompt execute:
certutil -L -d E:\cert\database

You can see the two certificates imported in the certdatabase.
6. Point SSO policy server to the cert database
Last operation to do is :
Enable the User Directory Connection for SSL
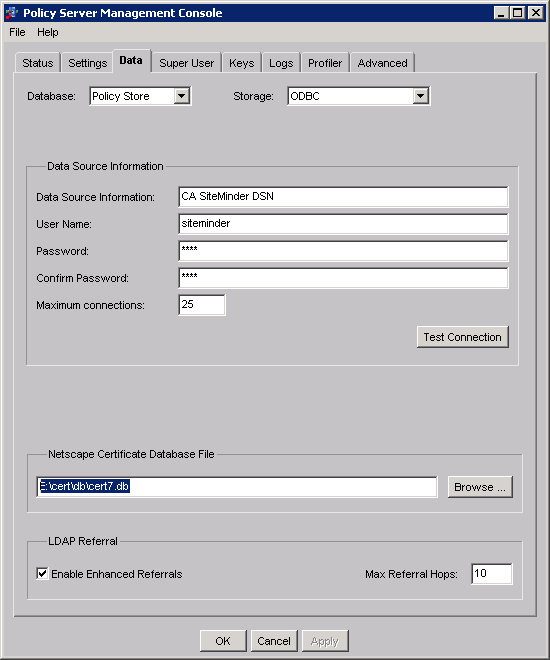
link the policy server to the Netscape Certificate Database file. To link the policy server to the Netscape Certificate Database file, open your Policy Server Management Console and in the bottom select “Browse” to select the path ot the database (in this tutorial E:\cert\db\cert7.db
To Enable the User Directory Connection for SSL, you can go to the Administrative UI and, under Directory, activate the Secure Connection check-box
In order to use the certificates imported, you have to restart the policy server.
For better confirmation, you can also see the smps log file and searching about the ssl connection messages.
Again, for newer verison, you will use cert8.dbHope this is useful.
Cheers,
Pasquale