Hi All.
In this tutorial, I will be showing you how to get our CA Microgateway running on the IBM Cloud, former BlueMix, as a Docker Container. In order to go ahead and rock your microgateways you need to make sure your have the registry and container services plugins added to your BlueMix account. I am not going to cover the steps to get that done as there are several tutorials and videos out there, besides the official documentation here. I also would like to point that I'm using Mac to show you how to do the deployment, but I'm sure it can also be done using Linux or Windows.
For starters, go ahead and clone the official CA Microgateway git repository here. Once it's cloned, open up a terminal and let's get started!
1. The first thing you're going to need is to create a new Cluster under the IBM Cloud Container Services console
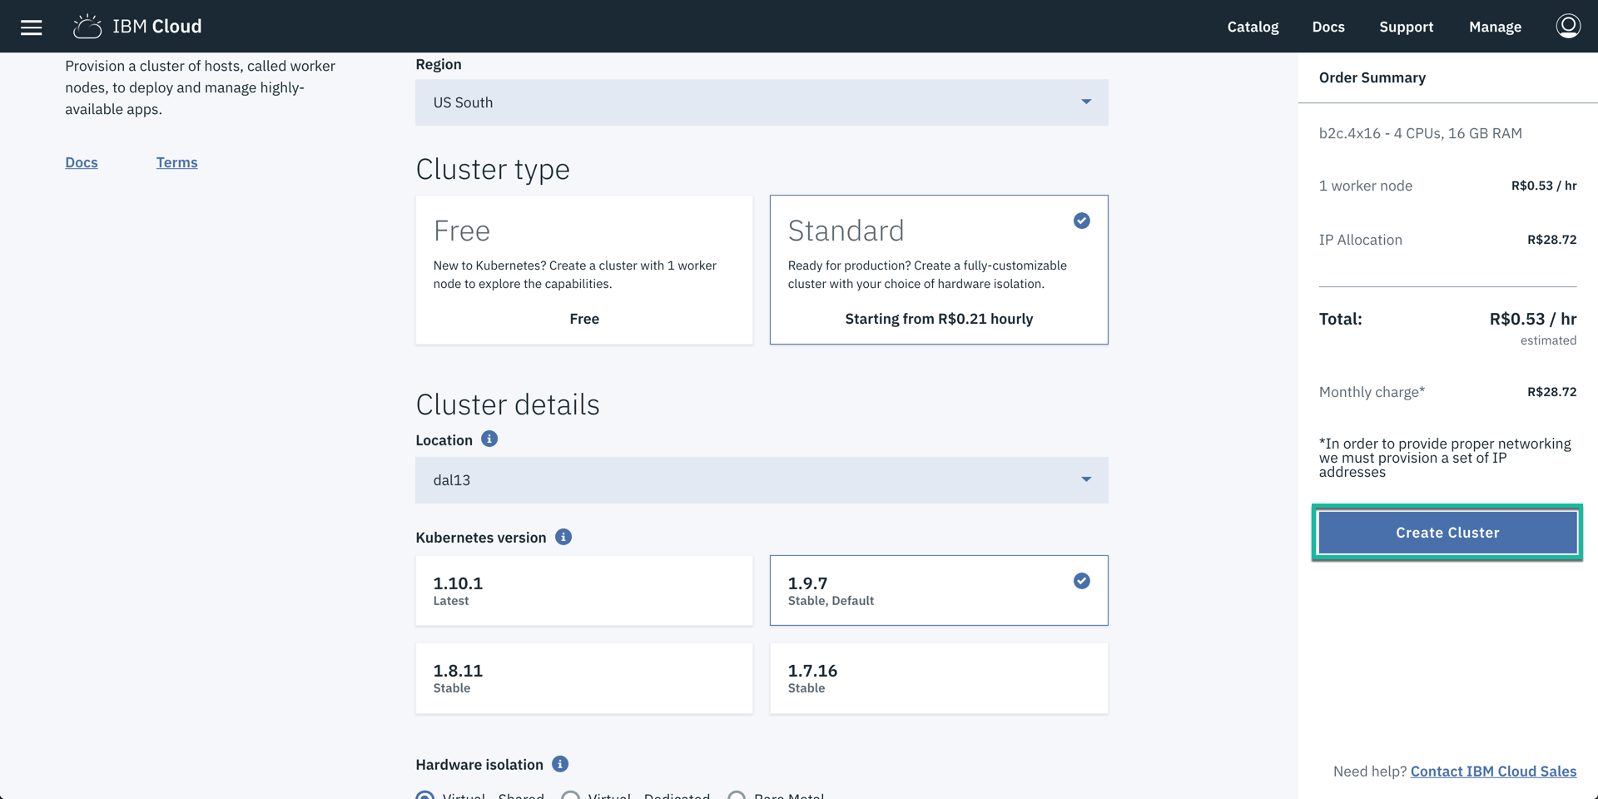
2. Pick the cluster configuration that better fits your requirement and hit the button Create Cluster
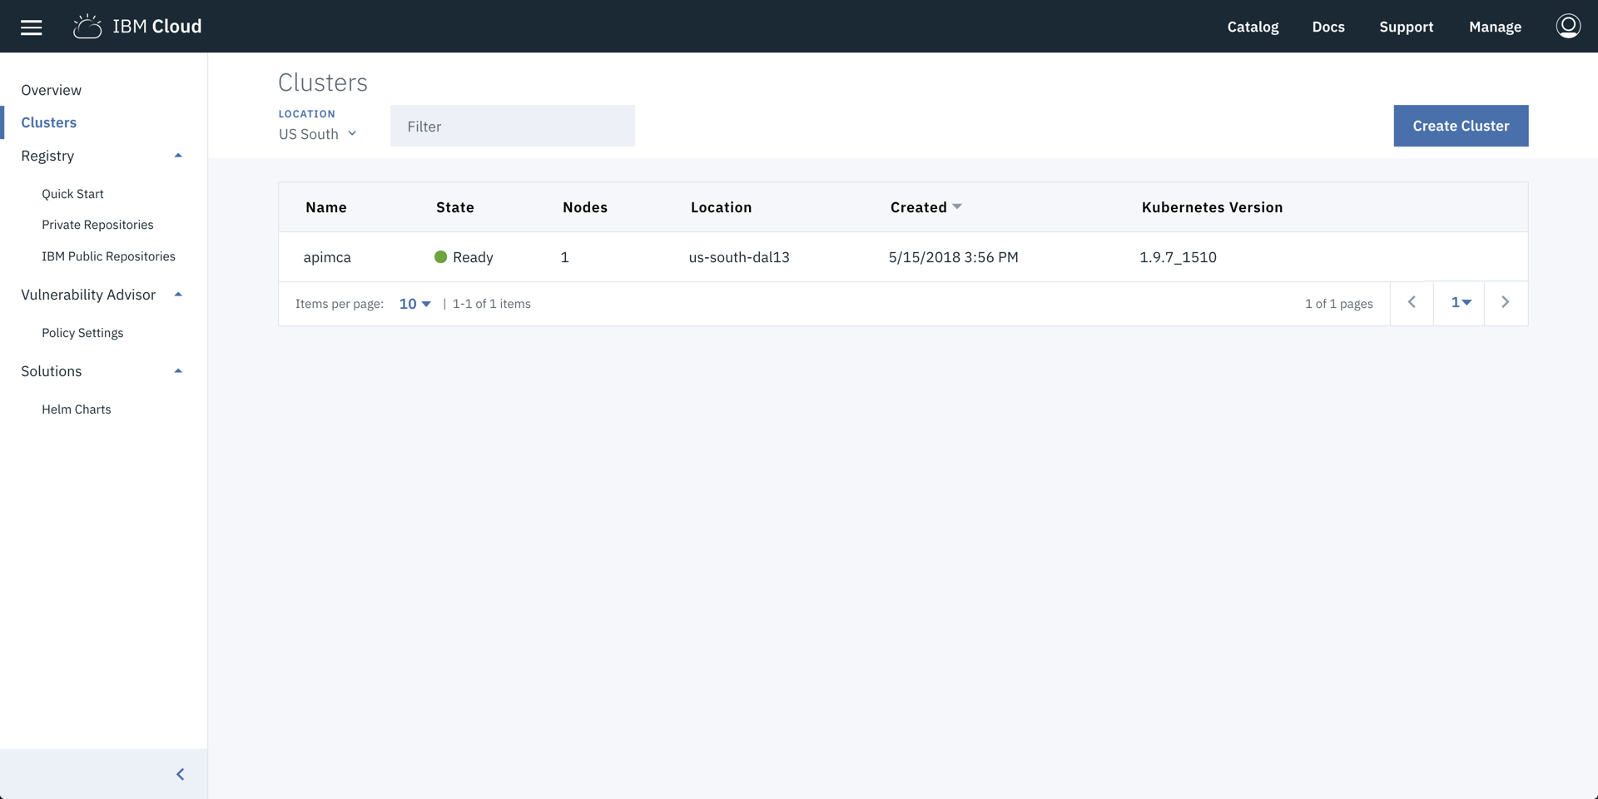
The cluster creation takes between 5 to 10 minutes to complete. Once it's done you'll be able to see it ready as follows:
3. With your cluster created and ready to be used, it's time to start the CA Microgateway deployment. For the sake of the tutorial, I'm not going to be showing how to use Postgres as a service database. I personally prefer to use consul instead. You can get further information about both service DBs here.
4. Open up your terminal and navigate to the folder where you previously cloned the CA Microgateway git repository. Then navigate to the subfolder samples/kubernetes
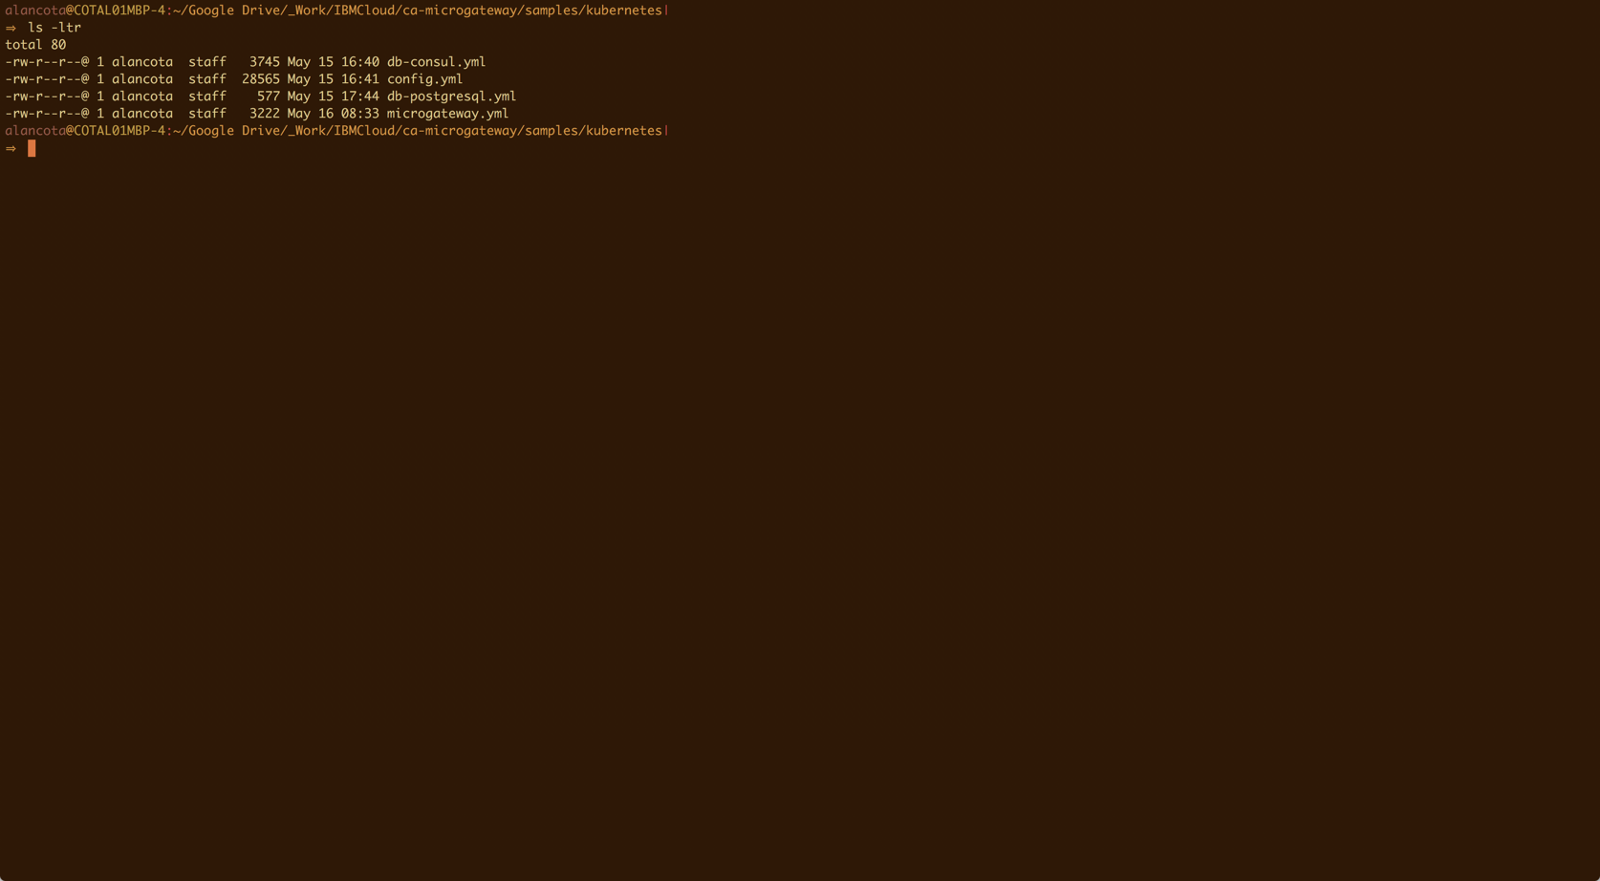
I am assuming that you have all the required IBM Cloud (bx), its required plugins (cr and cs) and Kubernetes (kubectl) CLI properly installed
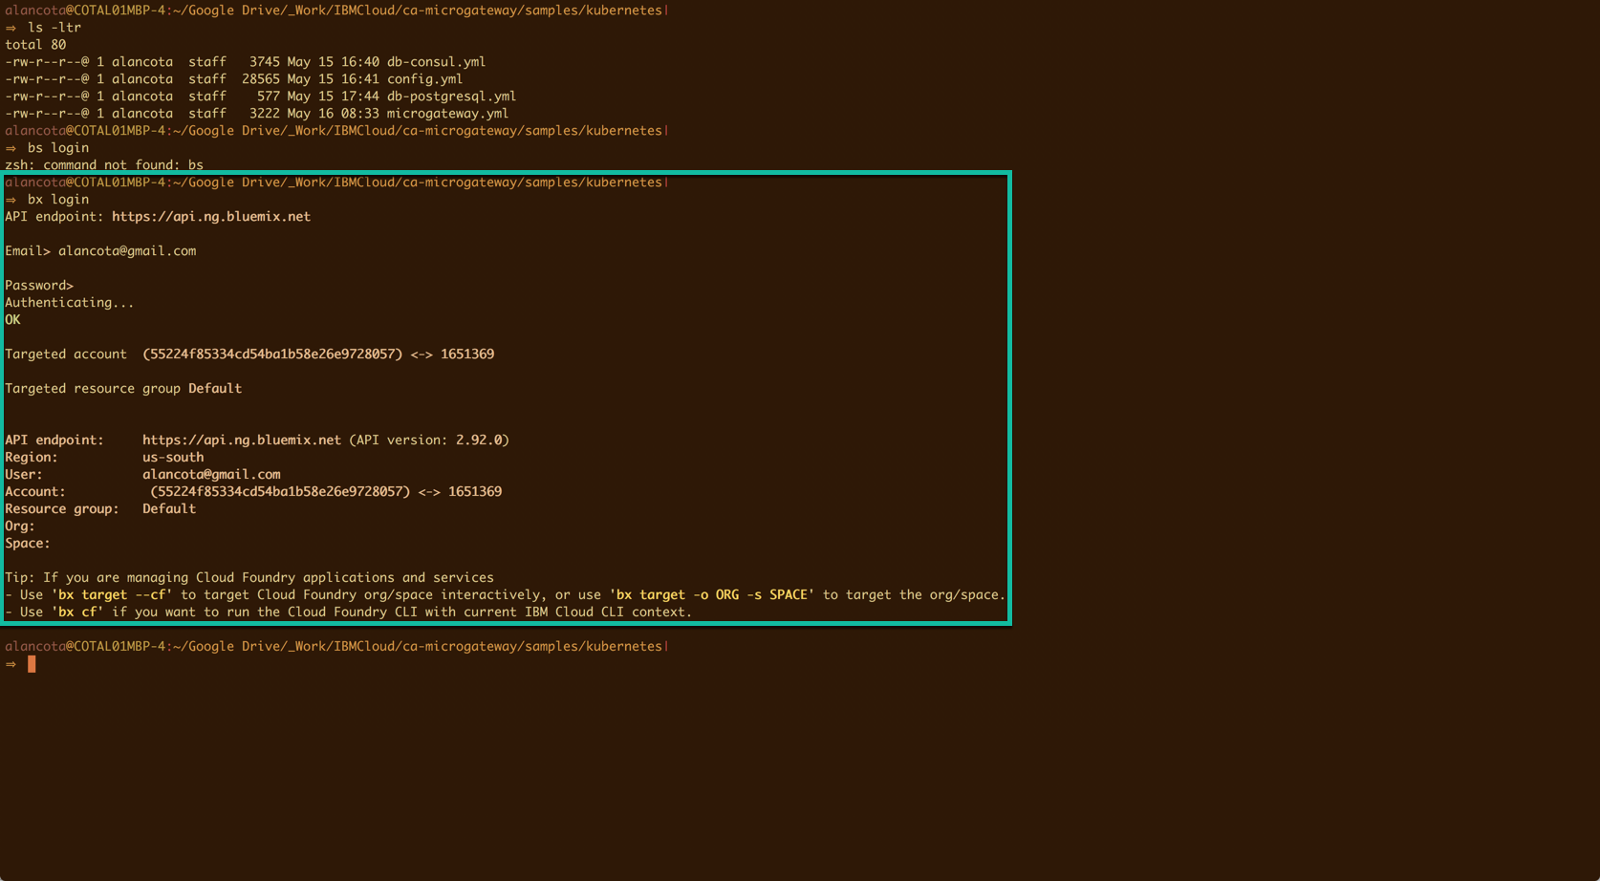
5. Now log in to your IBM Cloud account using the command: bx login
6. Run the following command using the name of the cluster you created before: bx cs cluster-config apimca
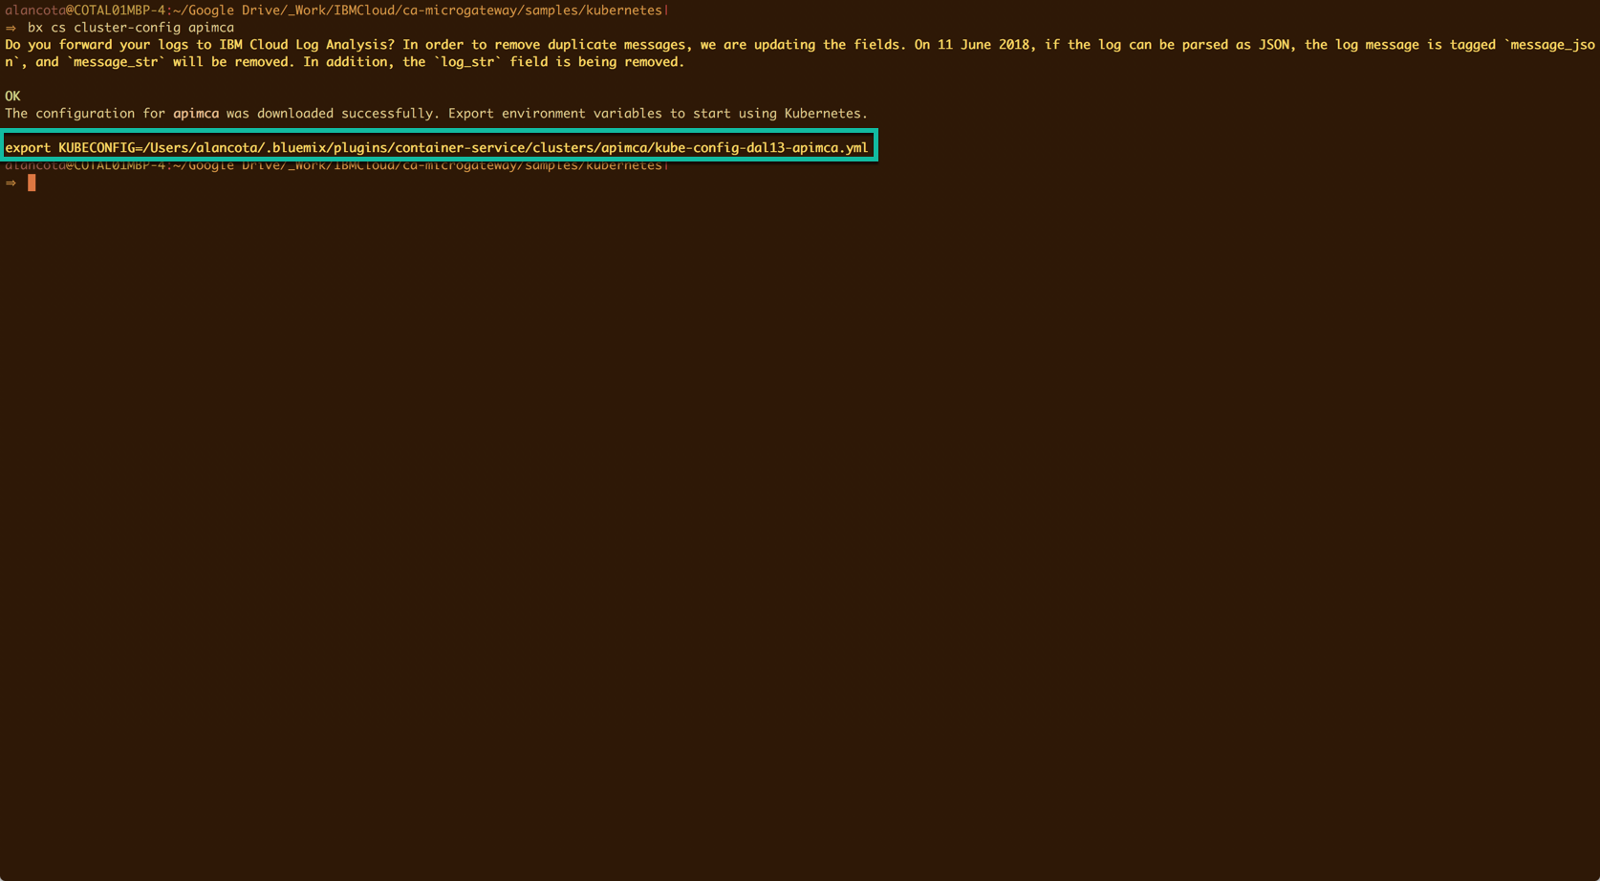
Please note that after running the cluster-config command you are going to get a Kubernetes configuration file. Copy the export command highlighted above and run it in your terminal. This is going to tell the Kubernetes CLI to use that configuration in that session of the terminal.
7. Make sure you are in the kubernetes folder from the previously cloned CA Microgateway git repository. Now run the following command to deploy the CA Microgateway to the IBM Cloud:
kubectl apply --filename microgateway.yml --filename config.yml --filename db-consul.yml

Mine is saying "unchanged" because I have it deployed already. If you want to make any change to your deployment all you have to do is to run the apply command again and the Kubernetes will update your deployments, including scalling up and down.
Usually, the deployment takes about 5 minutes to complete. You can watch the progress by using the following command:
watch kubectl get all
Your CA Microgateway will be ready to use when you see this:

Accessing your deployed CA Microgateway:
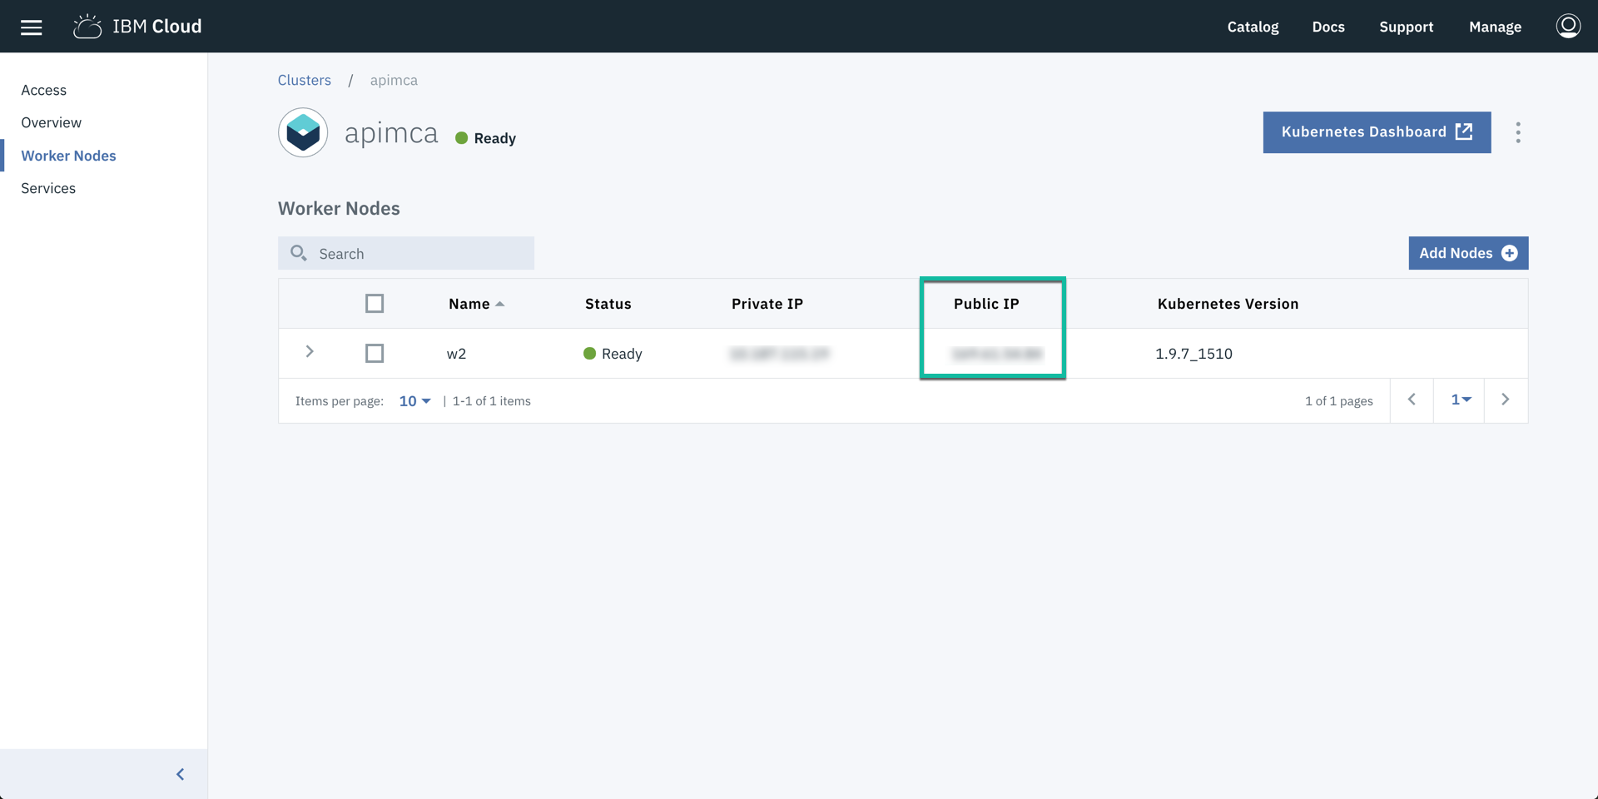
1. Go back to the IBM Cloud console and click on your cluster then hit the Worker Nodes menu as follows:

2. That's the public IP that you're going to be using to access your gateway:
3. Now go back to your terminal and type again the command kubectl get all and find the external port where your microgateway was exposed as follows:

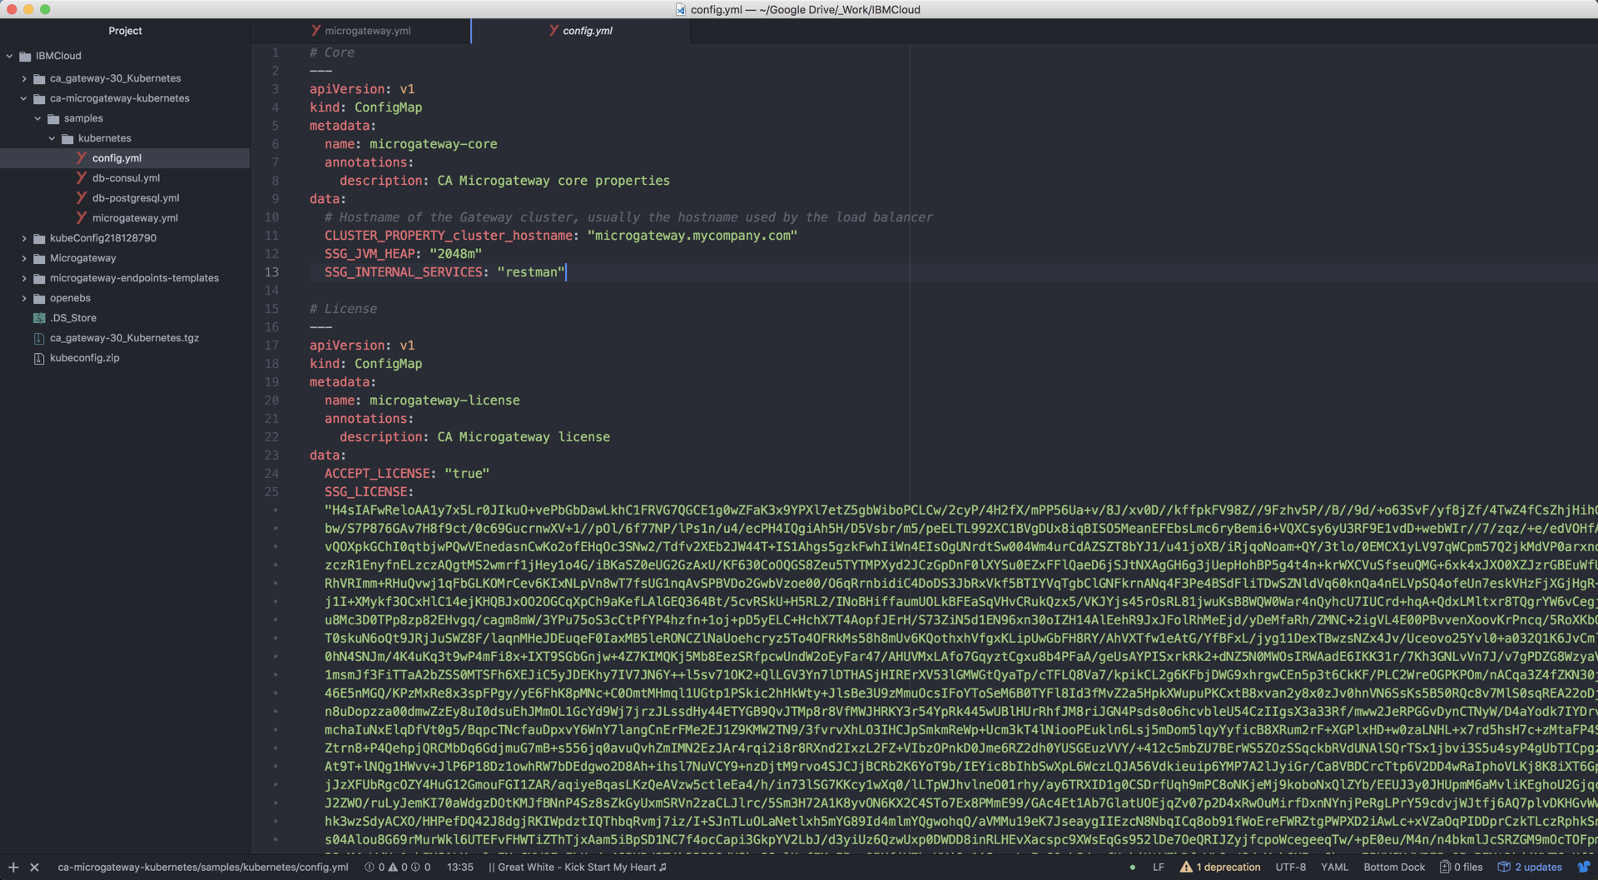
In my environment, my microgateway's 8443 port has been exposed publicly as 30443. The last thing you need to do from now is to create a DNS name if you want to access your microgateway using a hostname instead of your Kubernetes cluster public IP. Remember that by default the available CA Microgateway Kubernetes YAML will use the hostname. This can be changed inside the config.yml file as follows:
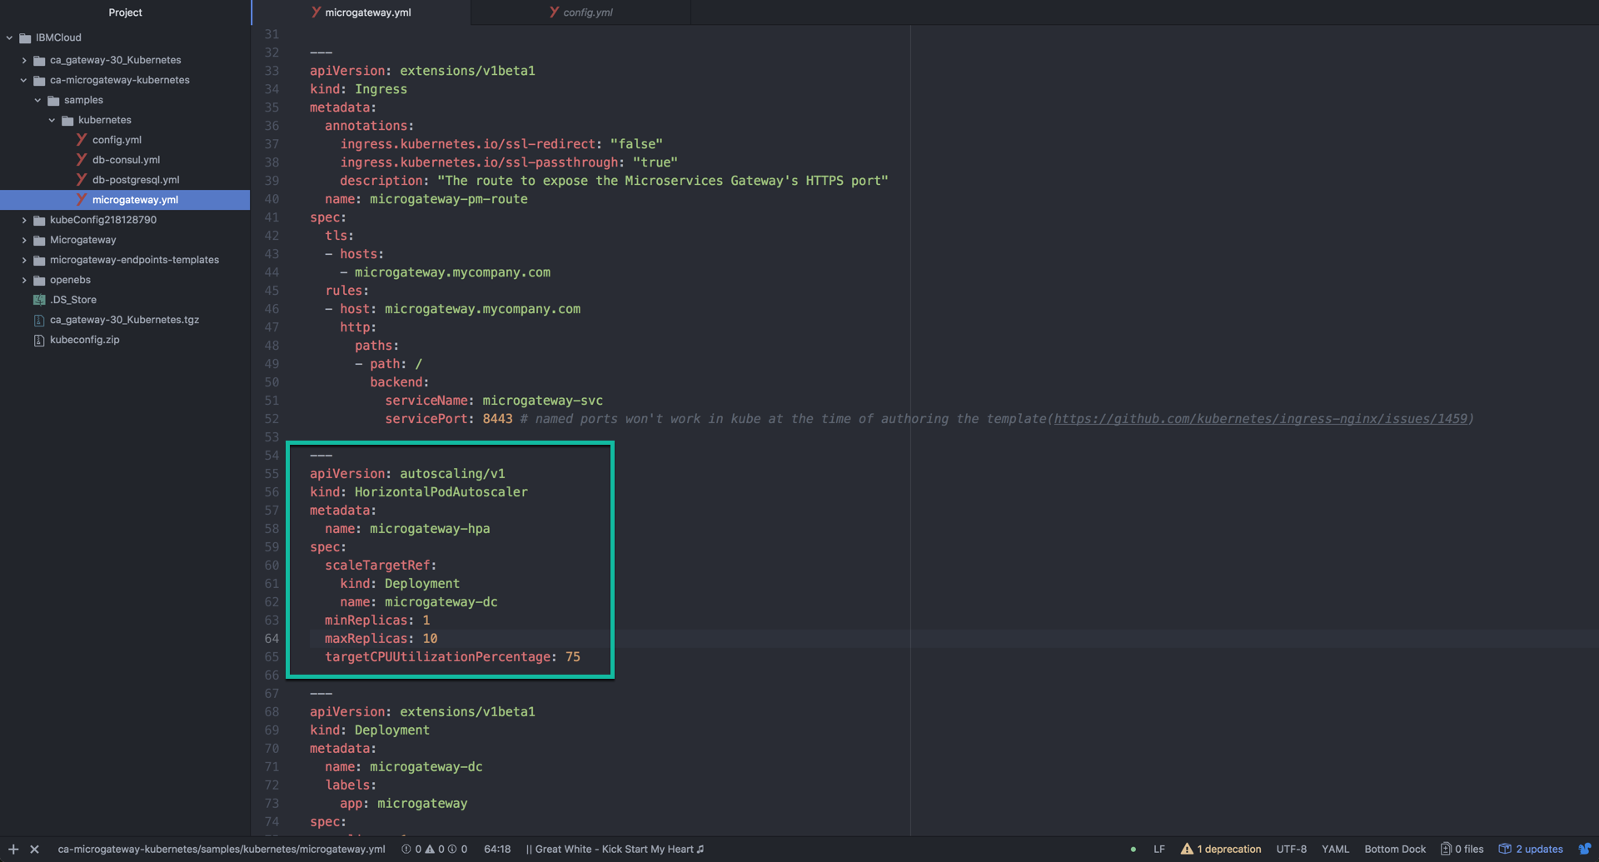
Now your Microgateway is ready! You can add autoscaling to it by changing the microgateway.yml file and adjusting it to whatever you want. You can also use the Kubernetes Dashboard to scale up and down any deployment.
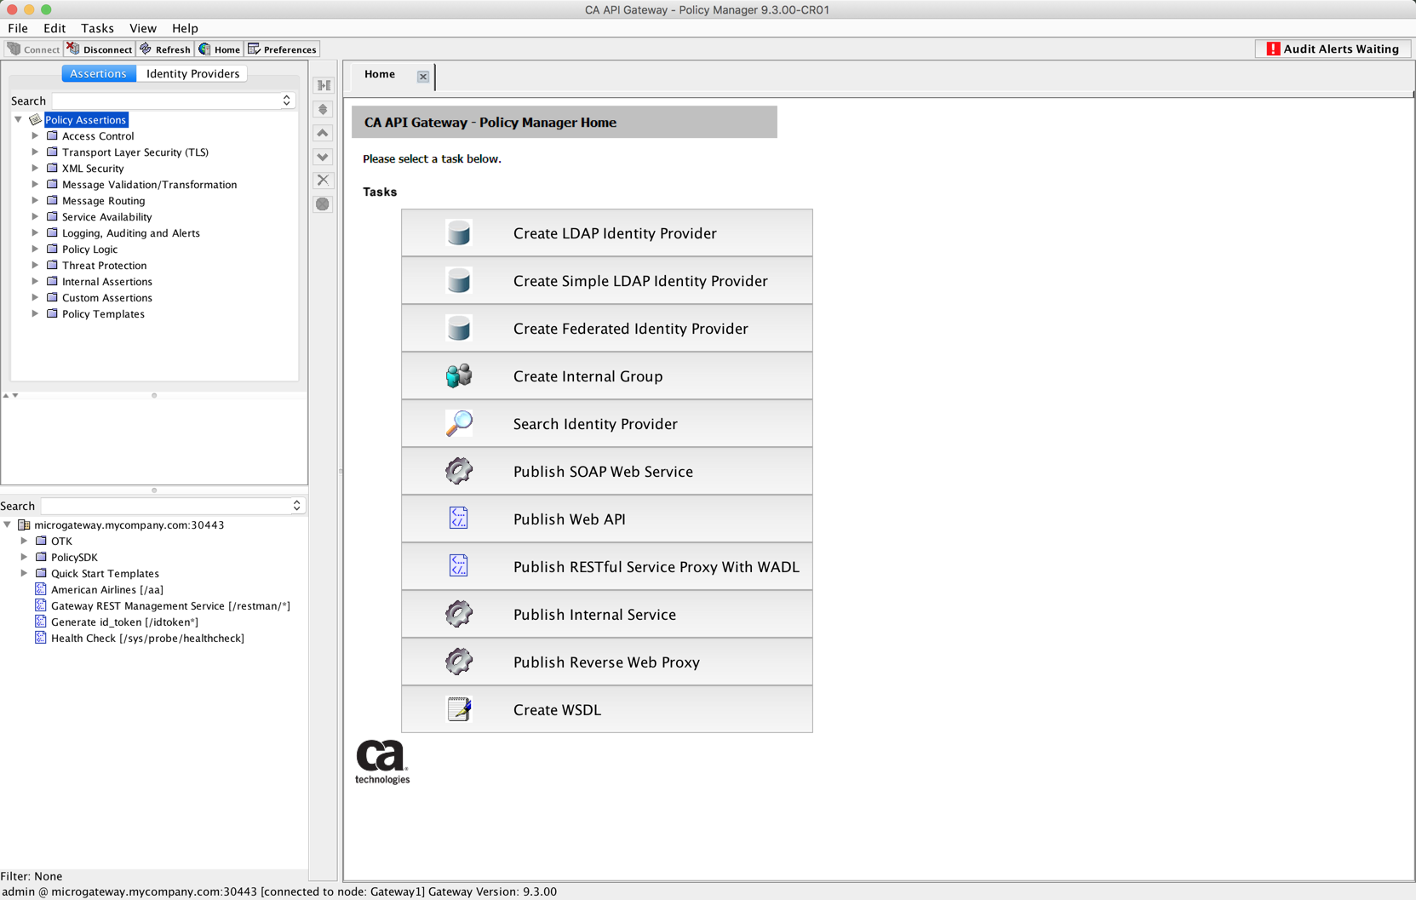
You can access the Policy Manager just fine too (default credentials: admin/password:
Further documentation about it can be found in here.
I hope this can help! See you in the next tutorial!